As an enthusiastic hunter, you want to increase your catch in every hunting trip and make your hunting days an interesting one. But, interesting experiences come with fewer struggles and non-wasted opportunities.
And to help you get the most experiences hunting deer, we’ll be discussing the 10 best trail camera tips for catching more deer. These tips will go a long way in helping you get the best experience catching more deer in your hunting adventure.
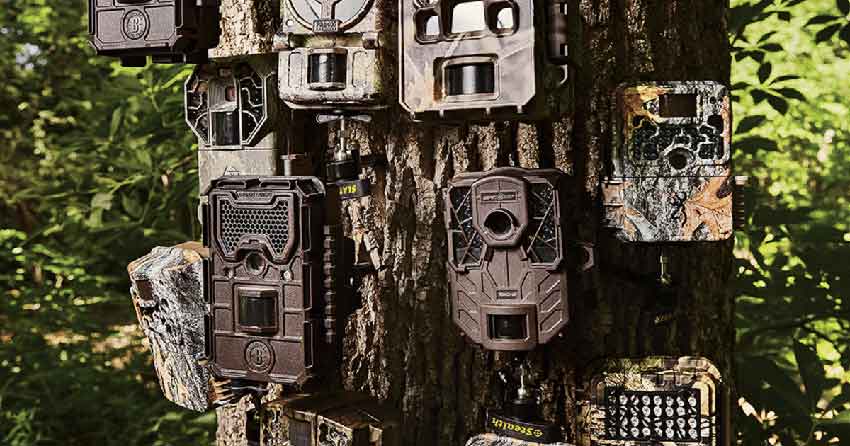
1. The Trail Camera Basic
 One of the best tips to keep in mind when using trail cameras in other to produce better pictures is to try and keep the trail camera facing the north angle.
Yes, this is quite simple.
If your trail camera faces the east or even the west angle, it will be catching too much sunlight. And this is one way or the other, washes off the picture clarity.
Also, too much sunlight on the trail camera view could trigger the camera falsely when there is nothing on sight.
So, ensure to keep the trail camera, pointing to the north angle. This will reduce the amount of sunlight raze, that the camera could have gotten and invariably reduce the amount of wash down pictures.
2. Clear Background
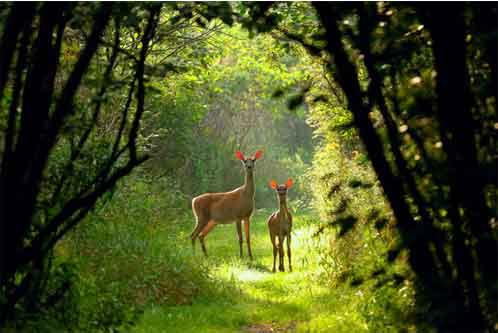
Another important tip is to make sure you have a clear background on the game you intend to capture. This allows the trail camera to produce high-quality pictures with a brilliant resolution.
3. Use of High-Quality Batteries
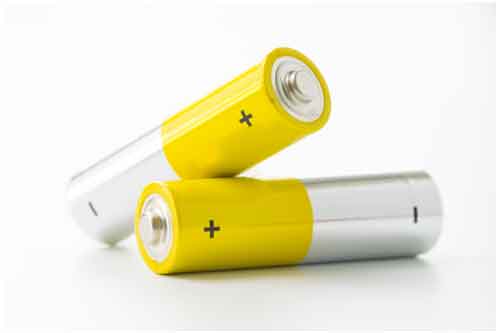 Trail cameras use batteries to power on. Using high-quality batteries is compulsory–it will power your trail camera for a long time while it is busy capturing high-quality photos.
But a low-quality battery will put your camera at risk. An explosion can explode inside your trail camera, due to some cheap batteries.
So, ensure you are getting the best batteries for your trail camera to get the best result.
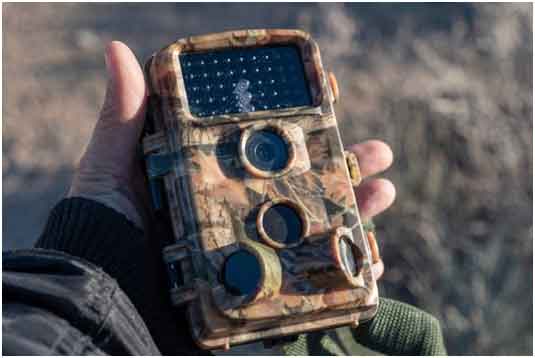
4. Setting up Your Trail Camera
 In setting up your trail camera, some situations will determine the specific set-up for your camera. The reason for this is that modern cameras are loaded with lots of options.
But, to help you get good pictures from your trail camera, follow these simple setup guide for your trail camera:
- You can put your camera over bait, and this can be either on a mineral lick or corn, or whatsoever that you might be using.
- Ensure you turn down the sensitivity and turn on the frequency. What this does is to keep the camera from taking too many shots of the same deer over again.
- Do the flipside if you are using the camera over an open food plot or scrape or a trail.
- Also, set the sensitivity on your camera On to catch whatever moves through there since the deer might not be coming to one spot. But, because of the bait, your trail camera catches them moving around.
5. Area of Placement of Trail Camera
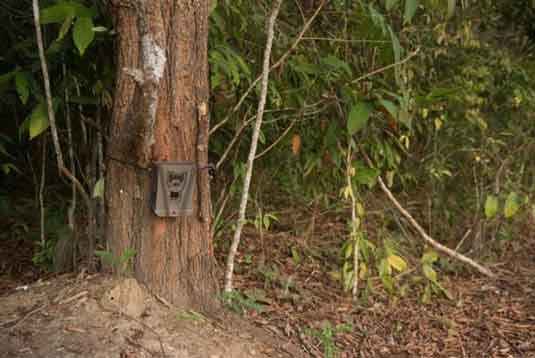 For the best area to set up your trail camera, choose places where deer often visit. You want to pick out the best tree spot to have a perfect place to mount your trail camera, and for ideal pictures of your deer.
Make sure the tree has a good position or a post that allows you to get the camera at the right angle to capture best pictures on deer.
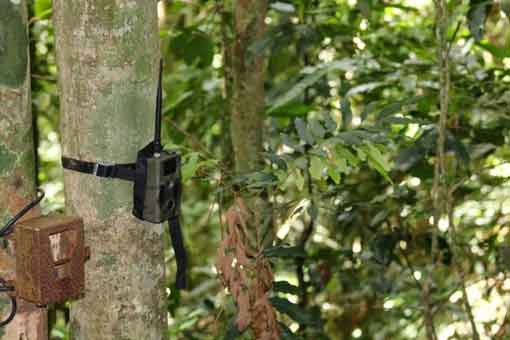
6. Some of the Best Places to Hang Your Camera
 A lot of times, there might not be a tree in the trail, and then you have to improvise. But pay attention to a spot where you have got a creek crossing and a food source close by.
This kind of spot will let you know if the deer are traveling to and from these areas, and that your mounted camera can conveniently capture these movements.
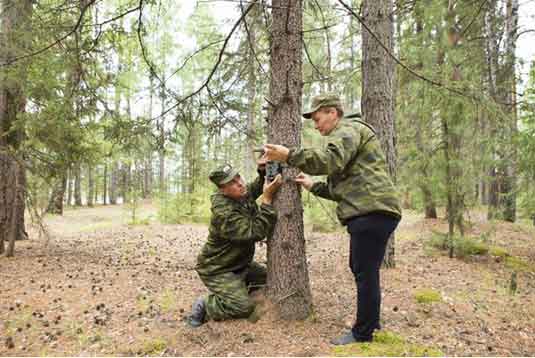
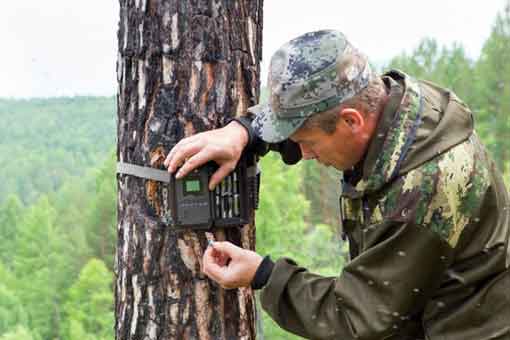
7. Mounting of Your Trail Camera
 Most times, the mounting of a trail camera gets overlooked by most hunters. The height of your mounting is very important to achieving utility from your trail camera pictures.
Most persons mount theirs just 2 to 3 feet off the ground. And this most times limits your trail camera’s scope of view.
An ideal height for mounting should be your head level at least. This should be 4 to 6 feet, to allow your trail camera to get off the ground and angle down a little bit. Of course, this will also give you a wider field of view to pick up more movement from a wider area.
Usually, most cameras pick their best shot during daytime, and at nighttime, somewhere between 10 to 20 feet.
So by your bait, you can direct where the deer should be moving, and place your camera at a reasonable distance for your best shot, usually 10 to 20 feet.
8. Best Location for Trail Camera
 A lot of you want to know the best location to place your trail cameras to get an excellent game picture.
Some good locations are:
- During late summer, and a site with warm season food plots like peas and beans.
- A site with a trail of travel corridor coming from the bedding to the food source.
These are perfect places to get velvet pictures from your trail camera.
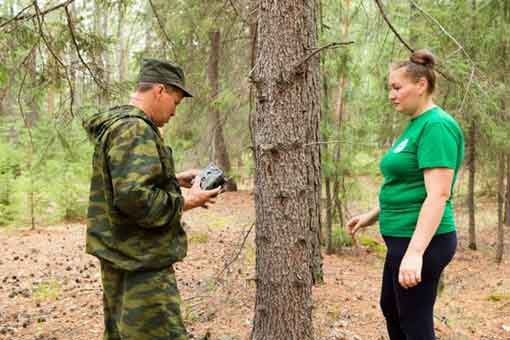
9. How Often Should Your Trail Camera Be Checked?
 This is really relative to the location of your trail camera. For example, a crop field will not be very difficult to check on it regularly every three days.
But for places in the woods and close to a bedding area or even right next to their food source, it will be quite difficult. Because, deer may be using the surrounding cover often, and you can’t be there much regularly to check on your trail camera.
However, and most importantly, the trail camera has the capability as a cell phone, to send you pictures, either through email or as text messages. This means, you genuinely don’t need to be present to check on pictures on your camera.
But note, the location of your trail camera is a major determining factor on how regularly you need to check on your camera. Don’t forget that.
10. Baits for Trail Camera
For you to have a satisfying amount of pictures and the best possible photos you can get from your camera for either your hunting trip or for gaming. You need to bait your deer to your trail camera.
There are lots of good bait products in the market as an attractant, to keep deer in front of your camera.
Remember, the location is vital when pouring out the bait. You have to choose a path where the deer wanted to be, like a trail to their food source.
Pour out the bait, and this will serve as an encouragement for the deer to stop at such point so that you can get their pictures taken. This works very well, depending on where you are interested in your country. Make sure you find a bait product that works best for you.
I hope you find this article useful? What other trail camera tips can YOU think for catching more deer? Let us know in the comments.


Stealth Cam P12 is one of my favourite trail camera.
This will reduce the amount of sunlight raze,
Thank you for your comment!