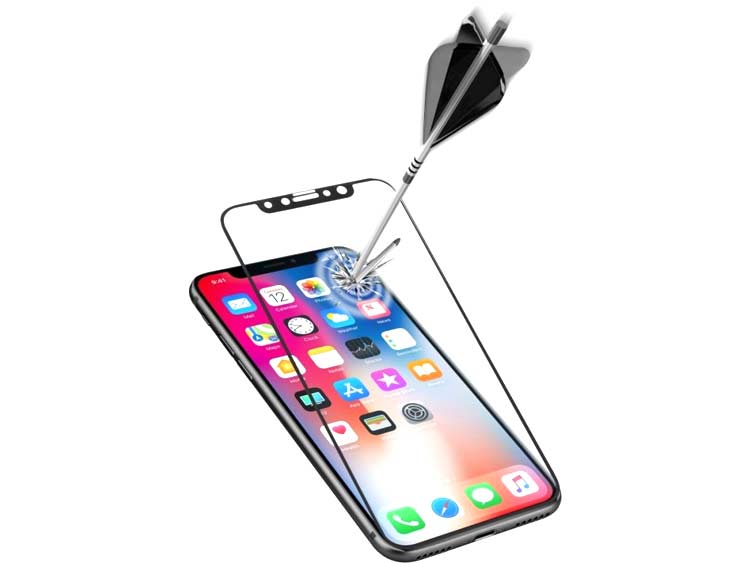
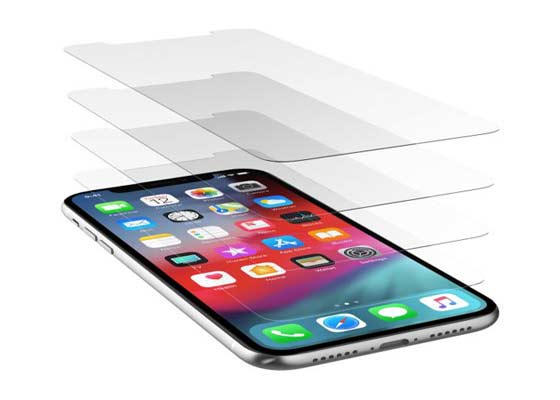
You are the owner of a dashing, glamorous, and spec-heavy Smartphone from a reputed brand. Now your concern is to protect its glass screen at any cost and what better way to do it by installing a good quality tempered glass screen protector over it.
By now you are sure that tempered glass screen protector is the far better choice over plastic screen protector as it gives more protection, smoother touch sensitivity, shatterproof quality and has an oleo phobic coating on it. You just love your phone as much as you want to protect it. These days most of the high-quality tempered glass screen protectors are sourced from China and people are happily using it.
Over the years we have experienced that people are finding it really difficult to install tempered glass screen protectors on their Smartphones. Because different brands of handsets are coming up with different models and each Smartphone model has a different screen size.
Some of them are coming with a curved-edge screen. Naturally, people are apprehensive about installing tempered glass screen protectors by themselves. But, the truth is, installing a tempered glass screen protector on your smartphone is not as difficult as people actually think.
So, we planned to come out with this article with the help of which you will learn that how easy it is to install any good quality tempered glass screen protector without any screen bubbles. Once you read the guideline properly you won’t need any external help to install it.
Follow this step-by-step guide to install your newly acquired tempered glass screen protector on your cell phone.
Tempered Glass
First Step: Preparations is everything
Choose a place that is sparkling clean. Try to avoid dust and dirt as much as possible. Clean the space where you are going to install your tempered glass screen protector. Once you are set with space then unpack the screen protector package and put it on the space that you have picked.
Arrange an alcohol wipe and one microfiber cloth. Before the start, ensure that the phone you are working with is switched off.
There are some instances where people try to install the tempered glass screen protector keeping the phone on – Do not ever do that to your Smartphone. Remember, it is a sensitive object and your protection is not still on. So take extra care to save your phone from sudden slip or drop during the installation process. If everything is in order then you are good to go for the installation process’s next step.
Second Step: Cleaning the Screen of Your Smartphone
This step is one of the most vital steps of this entire process. Try to clean the surface as much as possible. Remove all dust, oil, food particles, grease whatever is there. After primary cleaning, use an alcohol wipe to clean the screen completely. Once that is completed then give it a final polishing with the microfiber cloth.
Microfiber wipes all the tiniest particles from the screen of your tempered glass screen protector. Just remember, one particle of dust can ruin your entire effort of installing the protector on your phone. Once you are confident that dust has no chance to infringe the screen your smartphone is now ready for the next step.
Third Step: Carefully Remove the Protective Layer
If you observe carefully then you will find there is a protective film of plastic on one side of the tempered glass screen protector. Slowly pull that protective cover. Once the protective plastic cover is removed you will find there is a layer of adhesive on one side of the tempered glass screen protector.
You should and must be very careful while pulling the protective cover and do not let it touch any other object while pulling it.
Do not touch the middle or any other part of it except the edges. Remember, even by mistake you touch the middle portion of the cover where the adhesive is present the stickiness of that portion will lose its adhesive power or stickiness.
Holding the tempered glass screen protector on both edges will help you not to leave your fingerprints on the sticky surface. This adhesive side will go down with its face down towards the glass screen of your Smartphone
Fourth Step: Setting the Alignment Right
Correct alignment is really important. Keep that in mind that you need to align the tempered glass screen protector with the display portion of your screen as well as the four corners of your smartphone. The tempered glass screen protector must run parallel with the length of the screen.
Fifth Step: Put the pressure and paste it
Once you find that the alignment is perfectly fine and proper then carefully lay the tempered glass screen protector down on the screen of the Smartphone. If somehow it goes off the line of alignment then just lift it up gently and realign it. If it sits perfectly then start with a soft press at the center and allow the surface adhesive to grip the screen perfectly and firmly.
Sixth Step: Few Final Touches to finish with
Look closely and carefully all over the screen to find any trace of the remaining bubble. Take the cloth and press gently to smooth it by pushing it towards the edges of the tempered glass screen protector. Voilà, your phone is fully protected now.
Conclusion:
We hope this article helps you with all the important steps of installing a tempered glass screen protector on your Smartphone. We also hope, after reading this article you will not face any difficulties in the future.
There got lots of high-quality tempered glass screen protector factories in China and exporting it all over the world. Their aim is to provide the best product to our customers as we can create customized tempered glass screen protectors as per the specs are given by our customers.
If you want to ask any questions about the tempered glass or cell phone accessories, please do not hesitate. Send us your questions or product-related queries, and we will try to get back to you as soon as possible.