Apple releases so many new features with every update on iOS and macOS that many tools lie there without mention, update, or much use. Mission Control Spaces is one such practical but forgotten tool.
What Is Mission Control?
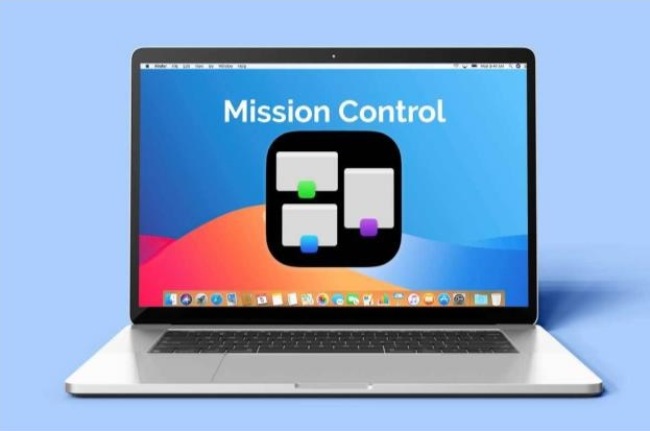
Mission Control is a bird’s-eye view of all your open windows, desktop spaces, and any apps in full screen or Split View. It allows you to create Spaces and makes it easier for you to switch between apps and windows.
According to TechRadar, the Mission Control feature was first introduced in Mac OS X 10.7 Lion, combining ‘Dashboard’, ‘Exposé’, and ‘Spaces’ from previous macOS versions.
What Are Mission Control Spaces?
Mission Control Spaces are different iterations of your desktop, displaying different apps and windows. You can even create different Spaces for different tasks, such as writing, browsing the web, editing photos, etc. If you don’t want to close the apps and windows on your desktop, you can create a brand new Space to work with, even if it is overcrowded.
Numerous apps are available all over the internet to manage windows in mission control. Using Mission Control Spaces can make your great Mac even better for accomplishing your day-to-day tasks.
Moving Between Mission Control Spaces
1. Using a trackpad, you have to swipe left or right using three or four fingers.
2. With a Magic Mouse, you need to swipe using two fingers.
3. You have to press the Control key and the Right or Left arrow key on your keyboard.
4. In Mission Control, move the pointer to the top edge of the screen, then click a space in the Spaces bar.
5. On MacBook Pros with a Touch Bar, you can adjust the keyboard settings to include spaces. From there, click on a space in the Touch Bar to open the space.
Customizing Mission Control Spaces
Apple suggests that you identify different spaces by using a different desktop picture for each one. You can change the desktop picture through System Preferences or use a third-party desktop generator.
Organizing Mission Control Spaces
You have to keep in mind that your goal through Mission Control Spaces is to remove clutter. It would be best to divide your open windows between work and personal apps or use one desktop for your frequently used apps and others for the rest.
Moving Open Windows To New Spaces
It is effortless to move open windows on your Mac to new spaces or from one space to another.
1. Just drag an open window to the edge of the screen. The next space is activated in a few seconds, letting you drop the open window in the new space.
2. You can also start Mission Control, then drag an open window from one space to another in the Spaces bar.
3. If you drag an open window onto a full-screen app in another space on the Spaces bar, you can use both apps through Split View.

A Guide To Mission Control Spaces
Assigning Places To Applications
You can also assign apps to spaces so that every time you activate that particular app, it opens through the assigned space. To do so:
1. Right-click on the app you wish to assign space on the Mac dock.
2. Choose Options.
3. Click on Assign To.
4. Under Assigned To, select the space you want, for example, All Desktops, This Desktop, or None.
Changing Space Names
Apple assigns the name ‘Desktop’ and a number to each new space in Mission Control, for example, ‘Desktop 1’, ‘Desktop 2’ etc. So that you don’t get confused as to which space is for what specific app,
1. Open any app on your Mac.
2. Next, click on the green traffic light icon at the top left of the app window to open the app in full-screen mode.
3. Now, swipe up using three or four fingers on your trackpad to open Mission Control and create the new space with their application names.
The name doesn’t change the way the space operates. For example, opening the Apple TV app would create the ‘TV’ space, or opening the Music app would open the ‘Music’ space.
Deleting Mission Control Spaces
Lastly, you can also delete Mission Control spaces at any time using the following directions:
1. Click Finder from the Mac dock.
2. Choose Go.
3. Then click on Applications from the toolbar.
4. Select Mission Control.
5. Move the pointer to the top edge of the screen to bring up the Spaces bar.
6. Then, hover over the space you want to delete using the pointer.
7. Click the Delete button that appears.
8. Note that any open window from a deleted space moves to another available space.
Mission Control Spaces serve a valuable purpose to anyone who likes to work with multiple windows open simultaneously. With this guide mentioned above about using mission control spaces, you can start using it today, leading to a better-organized workspace and increased efficiency.